The correct way to debug the folder gluer
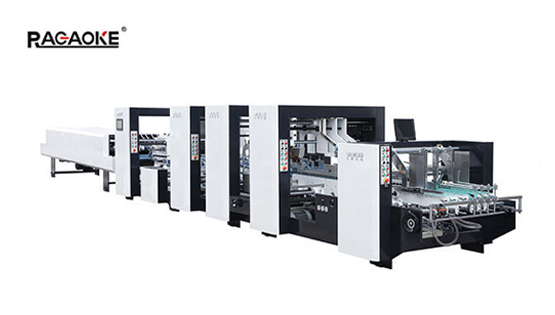
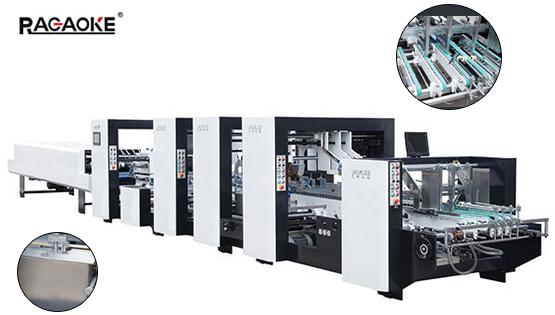
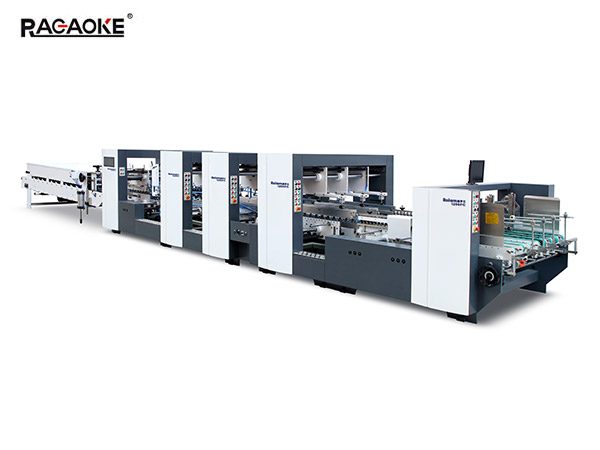
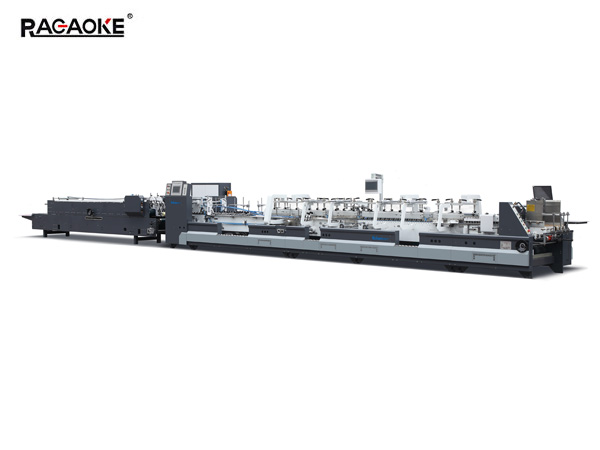
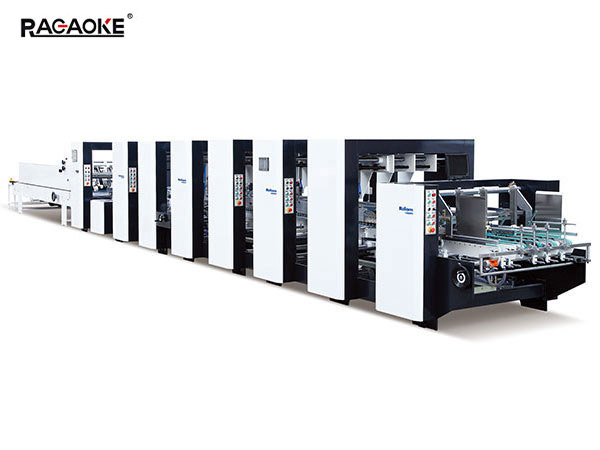
The working principle of the automatic folder gluer: After the power is turned on, the entire conveyor belt starts to move, and the die-cut semi-finished carton is placed in the paper feeding position of the folder gluer. The conveyor belt automatically sets the single box according to the paper stop. The pre-determined paper feeding report is sent to the middle belt (if the semi-finished carton is coated or polished and other surface treatments, after entering the middle, the corresponding carton can be glued on the inner edge by the glue gun at the same time) The conveyor belt will transport the carton to the back The section gluing box is pressurized and packed.
Operating Procedures of Automatic Folder Gluer:
Carefully check the work order, samples, determine the box glue used, and prepare them.
Adjust the width of the baffle to be pasted, the two sides should be parallel, and the semi-finished color box to be produced has just been put down, and the side baffles on both sides are less than 1mm from the color box, and then adjust the limit bolts to ensure that each product to be pasted passes smoothly without The phenomenon of fetters appears.
Adjust the slope and height of the bracket in the box to be glued area, so that the box to be glued products can move forward smoothly without fetters, and adjust the auxiliary guide rail and flow wheel after pressing the button. Make the size suitable for the specification of the color box to be pasted.
Adjust the gluing belt and the gluing guide rail, and then adjust the gluing host and the wheel to close the pressure, and the cross fit of the belt.
Adjust the glue tank, and check whether the glue in the glue tank is sufficient, the amount of glue should be immersed 80% of the rubber wheel, and then adjust the glue tank and glue position.
Turn on the power switch, the main motor switch and the vibration switch key. After the machine is adjusted, press the "Run" or "Inch" key, press the "Paper" key to debug the machine, and check whether the machine performance is abnormal. Skew phenomena should be corrected immediately.
After debugging ok, test 5-10 sheets of the machine first, and adjust the speed of the machine after confirming the position and molding specifications.
When gluing the box, pay attention to the paper feeding state of the box, and not over-line, offline or dislocation, so as not to affect the appearance and molding effect of the color box.
First confirmation: strictly follow the first sample signing method.
After production, clean up the machine and keep it clean.